
There are some more things to do. Some of little, some of more importance to our lab environment.
Al settings may be done using command-line tools, but this lab guide will mainly focus on GUI.
Logging on to Citrix ADC / NetScaler’s GUI
I open Firefox and surf to http://192.168.229.10.
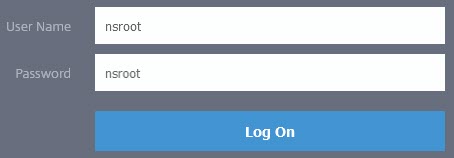
We log on, using nsroot as user-name and password. We see an initialö setup wizard as soon, as we are logged on.
We will skip “Citrix User Experience Improvement Program” (it’s of no use in a lab environment) and start adding missing data.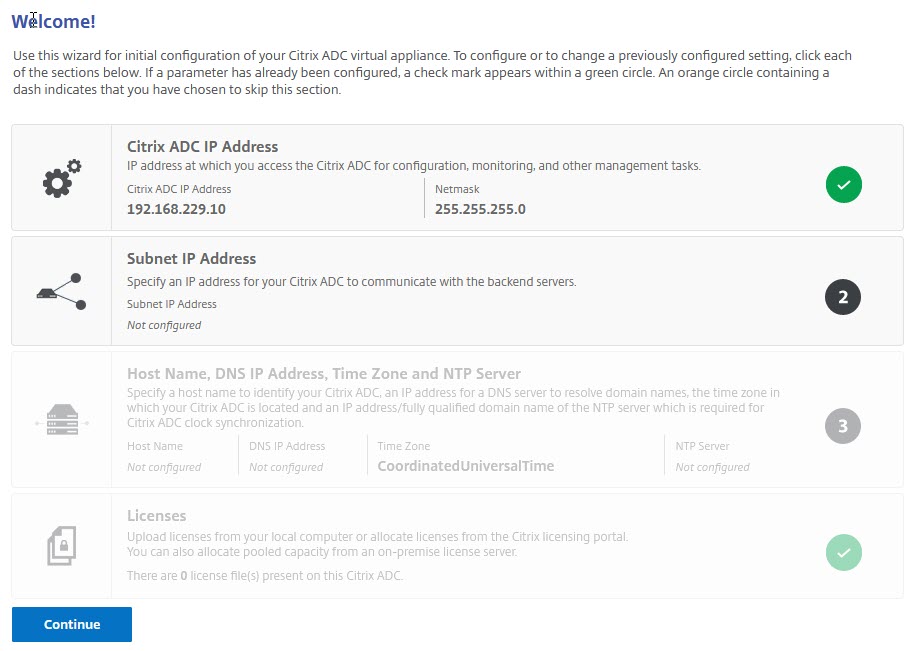
Set a Subnet IP Address (SNIP)
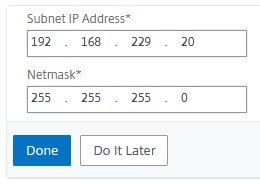
Click on Subnet IP Address. We will use the address ending on .20 (in my case 192.168.229.20)
Subnet IPs are virtual IP addresses used to connect to backend servers. There is no way a Citrix ADC / NetScaler might use its NetScaler IP (NSIP) for that purpose.
Setting hostname, DNS server, time zone and NTP server
All these parameters are optional ones. I would strongly recommend specifying DNS server and time zone. The hostname might be beneficial in case you set up more than just one Citrix ADC. The NTP-server is not needed in a lab, but it is crucial in a production environment. All machines in your enterprise should synchronize time, you may get in serious trouble about logons and understanding logs if you don’t. You may find time servers here.
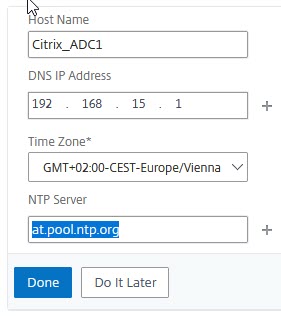
Citrix ADC will prompt you to reboot, after clicking done. You may press do it later in case you got a license to upload, as changes to licensing always requires a reboot.
Your Citrix ADC is ready now.
[wpedon id=”798″ align=”center”]